Lab 3: Mazes - Enums and 2D Arrays
Overview
In this lab, we will write classes encapsulating a 2D array, write
Enums, and test them with JUnit.
Materials
- IntelliJ
- JavaFX
- Lab partner
Setup
- Download the skeleton for this project.
- Unpack the code into a new IntelliJ Java project.
- Try running MazeApp. If a small window appears, everything works!
Description
The puzzles inherent in generating a
maze and
solving a maze
lie at the heart of some very interesting
problems in
computer science. Most obvious might be using Google Maps to find
directions from one location to another.
In this lab, you will create the necessary data structures to represent
a maze computationally, allowing a user to wander through the maze
toward a goal. In later labs, we will implement algorithms to generate and solve
mazes.
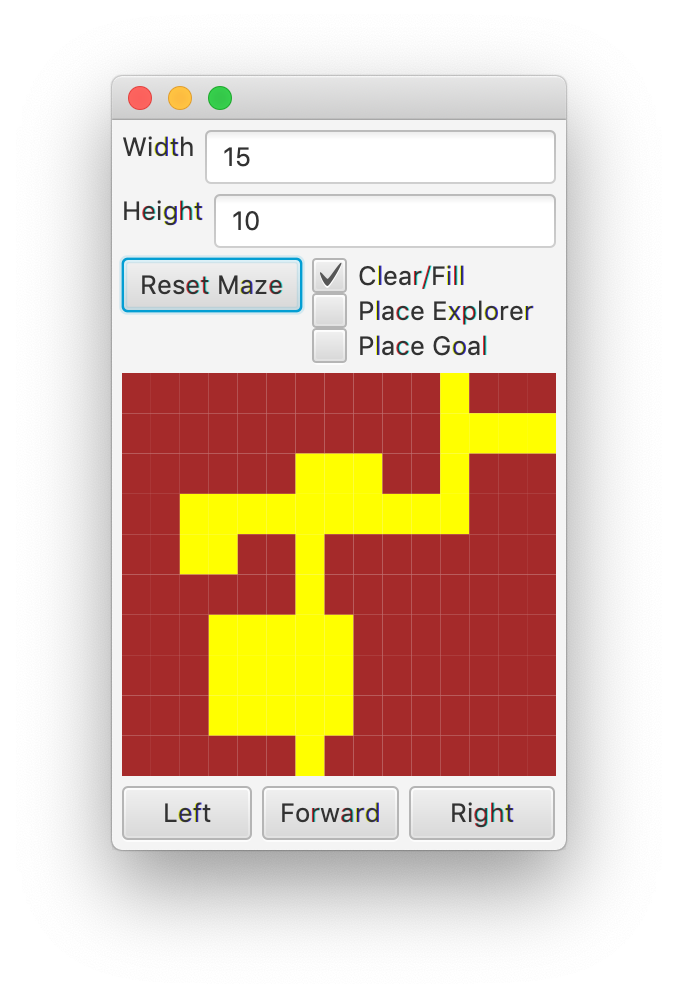
To start, run the code in MazeApp. After you click on “Reset Maze”, you
should see the GUI layout here.

The Clear/Fill selection allows a user to manually create a maze on the
screen. This will be completed by you in steps 1 and 2 of this lab, and
augmented in step 3. The Place Explorer and Place Goal selections will
be implemented in step 4, which will also incorporate the movement
buttons Left, Forward and Right, found on the bottom of the screen.
There are two important elements already present in the code for this
project
Cell
This enum records the state of a Cell in the Maze. A cell can be OPEN,
CLOSED, or VISITED. Each cell knows its color, what state of the cell
should occur when the cell is flipped, and if it can be entered by an
Explorer.
Position
This class keeps track of an x and y coordinate. It has an accessor
method for each of these two variables, and can determine if it is
adjacent or equal to another Position.
Step 1 - Maze
The core storage of the pathways and walls in the maze is in the Maze
class. It holds a 2D array of Cells as the only field.
Step 1.1 - Implementation
You will need to write code for the following methods.
-
public Maze(int width, int height)
This constructor brings in a width and height, and initializes the 2D array to be of this size.
Also, you need to set each individual Cell to be CLOSED.
-
public int getWidth()
Returns the width of the grid of Cells.
-
public int getHeight()
Returns the height of the grid of Cells.
-
public boolean inMaze(Position p)
A method to determine if a Position within the bounds of the grid of Cells.
-
public Cell getStateFor(Position p)
If the requested Position is in the maze, this method will return the corresponding Cell. Otherwise, it will always return the CLOSED Cell.
-
public void setStateFor(Position p, Cell state)
If the given Position is in the maze, this method will set the corresponding grid location to the given Cell.
Step 1.2 - Testing
Run the MazeTest suite, and ensure your above methods are passing
these tests.
Step 2 - Puzzle
The Puzzle class is our central model for this program. It will hold a
Maze, an Explorer, and a Position to represent the goal in our maze.
In this step, you will complete the code for interacting with the Maze.
Step 2.1 - Implementation
You will need to write code for the following methods.
-
public Puzzle(int width, int height)
The constructor should make a Maze of the specified width and height. It should leave the Explorer and goal null.
-
public int getWidth()
Returns the width of the maze.
-
public int getHeight()
Returns the height of the maze.
-
public Color getColorFor(Position p)
Returns the color of the Cell at the requested Position in the maze.
-
public boolean canEnter(Position p)
Determines if the Cell at the Position given in the maze can be entered, i.e. is it an OPEN pathway.
-
public void fill(Position p)
Sets the Cell in the maze at the given Position to be CLOSED up as a wall.
-
public boolean clear(Position p)
Sets the Cell in the maze at the given Position to be OPEN for a pathway. This will return true if it was successful, and false otherwise. Positions outside the Maze can never be cleared.
Step 2.2 - Testing
Run the PuzzleTest suite, and ensure your above methods are passing
these tests.
Step 2.3 - GUI
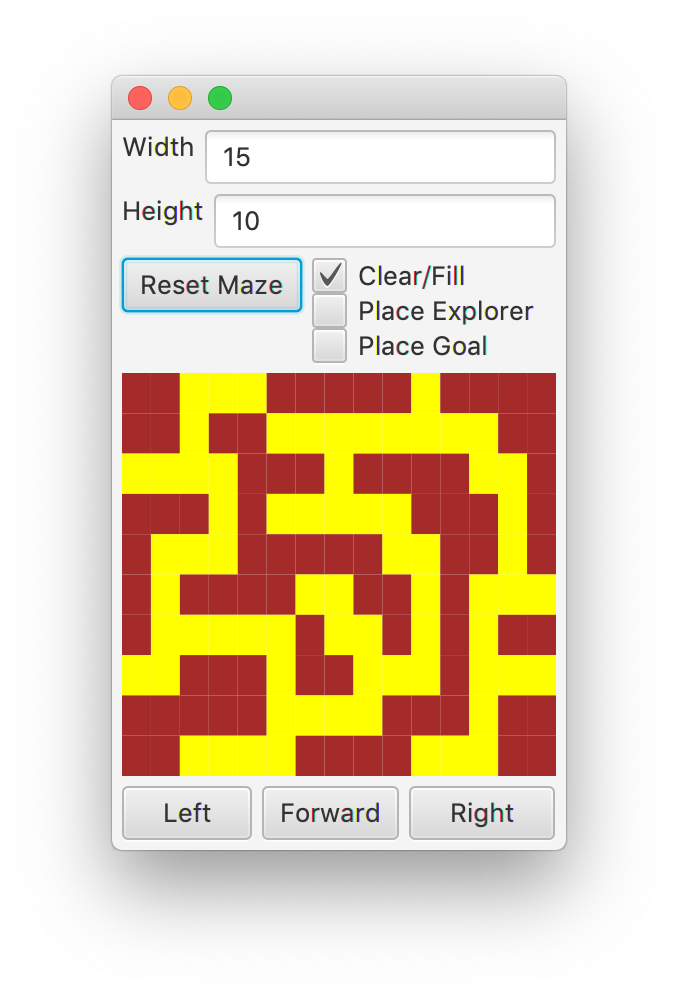
Now, run the MazeApp class, and test out your code with the GUI.
Click Reset Maze to see a maze with all closed (red) Cells.
Now, you should be able to click on squares to open and close pathways in the
maze.
Step 3 - Avoiding Rooms
We can add a restriction on the ability of the user to create mazes with
large rooms. A room is defined as any four OPEN Cells that form a 2x2
square.
Step 3.1 - Direction
You will add the implementations for the getClockwise,
getCounterClockwise and getRotation methods of the Direction enum.
Use the standard compass rose to map each Direction to its clockwise and
counterclockwise neighbor. For the rotation, you should return the angle
in degrees for each orientation, where SOUTH is at 0 degrees, WEST is
90, NORTH is 180, and EAST is -90.
Step 3.2 - Direction Testing
Verify that your Direction is working with the DirectionTest suite.
Step 3.3 - Maze Updates
In the Maze class, implement the following method:
-
public boolean inRoom(Position p).
This method will return true if the requested Position is part of a room, as defined above.
Tip: Use the getNeighbor(Position p) and values() methods of the Direction Enum.
Step 3.4 - Testing
Uncomment code labeled for this step in
Test out your code with the MazeTest suite.
Step 3.5 - Puzzle Updates
You will need to update your clear method of the Puzzle. It should now
be the case that the only Cells that can be cleared are those in the
Maze that will not cause a room to be formed.
Step 3.6 - Testing
Uncomment code labeled for this step in
Test out your code with the PuzzleTest suite.
Step 3.7 - GUI
Run the GUI to interact with your code.
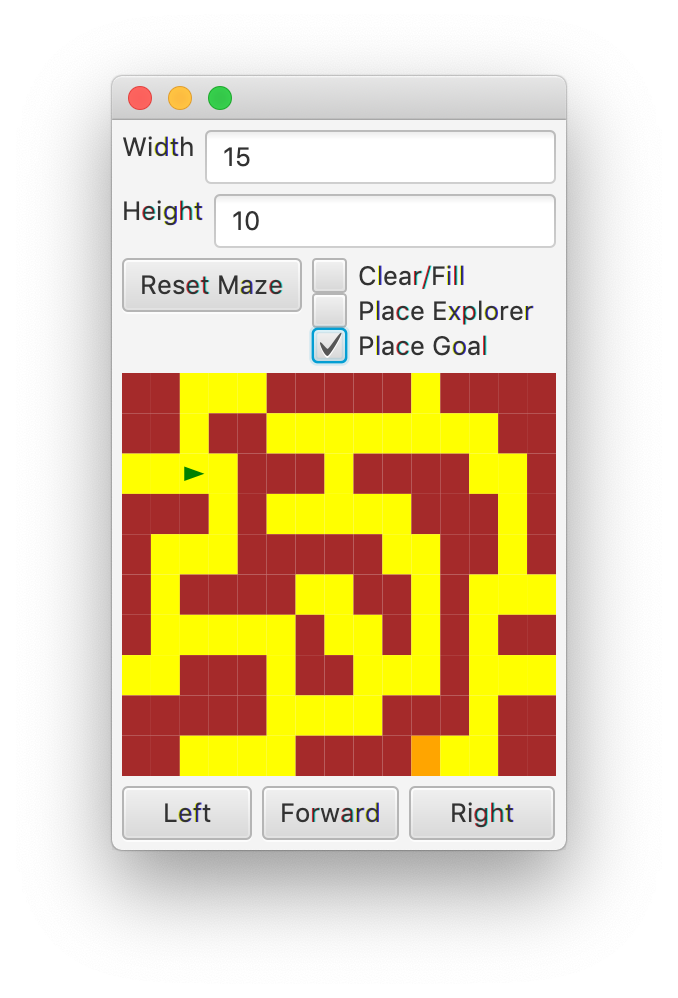
Step 4 - Explorer and Goal
The Explorer code is completed for you, and an Explorer can move around
the maze and look ahead according to their internal Position and
Direction. There are three pieces of code we will need to complete for
the Explorer and goal portions of the Puzzle class.
Step 4.1 - Move
In the Move enum, you will need to create three elements, FORWARD, LEFT
and RIGHT.
Add two abstract methods for newPosition and newDirection
as shown below, and then provide an implementation for each of the three
directions.
-
public abstract Position newPosition(Position p, Direction d)
Given a Position and a Direction, return the new Position found by going in the Direction. When going FORWARD, this should make use of the getNeighbor method found in Direction, otherwise the Position should remain the same.
-
public abstract Direction newDirection(Direction d)
Given a Direction, return a new Direction. LEFT should rotate counterclockwise, while RIGHT rotates clockwise, and FORWARD does not change the direction.
Step 4.2 - Move Testing
Uncomment code labeled for this step in
Verify that your Move is working with the MoveTest suite.
Step 4.3 - Puzzle Explorer
More methods are now required in the Puzzle class. Complete the
implementation of the following methods.
-
public boolean hasExplorer()
Returns false if the hero is null, otherwise returns true.
-
public void placeExplorer(Position p)
Creates a new Explorer at the given Position and saves it in the hero field.
-
public void moveExplorer(Move m)
Calls the move method on the hero if the Puzzle has an Explorer.
-
public Position getExplorerPosition()
Returns the Position of the Explorer.
-
public Direction getExplorerHeading()
Returns the Direction of the Explorer.
Step 4.4 - Puzzle Goal
Finally, add two more methods to Puzzle to allow for a goal Position to
be placed in the Puzzle.
-
public void placeGoal(Position p)
Saves the given Position as the goal position.
-
public Position getGoal()
Returns the goal position.
Step 4.5 - Explorer and Puzzle Testing
Uncomment code labeled for this step in
Verify that your Puzzle and Explorer are working with the PuzzleTest suite.
Step 4.6 - GUI
Uncomment code labeled for this step in
Run the GUI to interact with your code.
Grading
- To Complete this lab, complete all steps.