Lab 10: Binary Search Trees
Overview
In this lab, we will implement a Binary Search Tree and visualize the
processes of insertion, deletion, and rotation.
Materials
Setup
- Download the skeleton for this
project.
- Unpack the code into a new IntelliJ Java project.
Description
We can efficiently store information with arrays and linked lists, but
determining if an element is present could take a linear search through
each element if the data is not sorted. At best, sorting will take O(n
log n), and so we explore an alternative here which incorporates the
idea of binary search into a linked structure of nodes.
Note: Our items to be stored and compared in this lab will be strings. For
testing purposes, I recommend using single letters as entry, however,
full words can also be used. If you use numbers, they will be sorted in alphabetic
order, not numerical order.

Optional vs null
One way to implement a TreeNode in Java is to use null for the left
and right children when these children are empty. However, this opens up
the possibility for a NullPointerException if we code incorrectly, and
we won’t know if the exception is because of this or some other
unexpected null in our algorithm.
In this lab, we will use a special class in Java called Optional. This
class can be used in lieu of null, so you know exactly what error you are
getting and why. We wrap all of our TreeNode objects in an
Optional object. So, instead of saying left == null, we would
ask ‘left.isPresent()’. If left exists, then we can get the TreeNode by
saying left.get().
Important: To make a new child, we would say something like
left = Optional.of(new TreeNode(value)).
Methods that remain to be implemented in the TreeNode class have been
marked with TODO for easy identification.
Step 1: insert() and contains()
Use recursion to complete the insert() and contains() methods in the TreeNode
class. Both of them will need to use the result of value.compareTo(this.value) method
to determine if the parameter is less than, equal to, or greater than the value
at the current TreeNode.
The test case BinarySearchTreeTester.test1() should pass if
your solutions are correct.
Step 2: Tree Statistics and Visualization
Complete the size(), getMin(), getMax(), and height() methods in
the TreeNode class.
Note: You should complete these methods in the order above, this is the order they are accessed in the GUI for display.
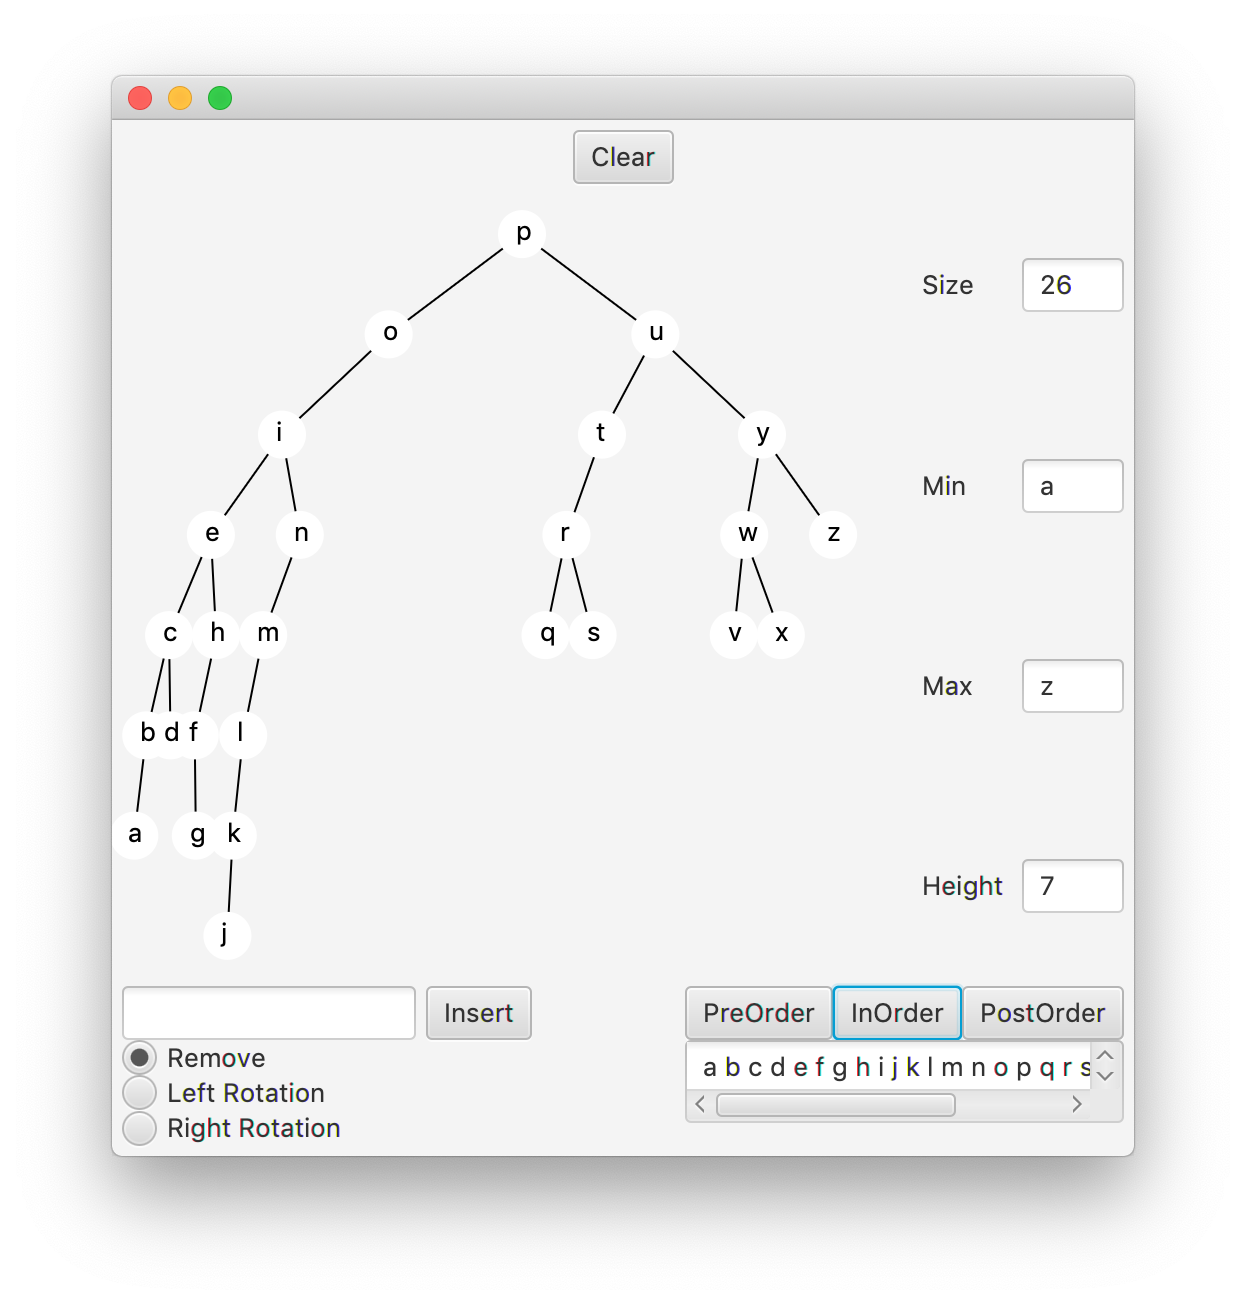
Then run BinaryTreeApp. As you insert nodes into your
tree, you should see the statistics updated on the right. Make sure the
values are correct by experimenting with different tree structures.
Step 3: Traversals
Complete the preOrder(), postOrder(), and inOrder() methods in the
TreeNode class. The op parameter is a Consumer object that performs
the op.accept(value) operation on the current value either before, after,
or in-between using recursion to traverse the children.
These methods should pass their unit tests, and also you
can test them in BinaryTreeApp.
Step 4: Deletion
Implement the remove() method. Note that it does not return the
removed node; it returns the node upon which it was invoked, and
rebuilds the tree as it exits from its recursive calls. Follow the
comments carefully.
Note: Somewhere in your method, you will probably write a line similar to left = left.get().remove(target);
It should pass its unit tests and again is testable
on the GUI, by clicking on nodes you wish to remove.
Step 5: Rotations
Implement left and right rotations. When correct, they should pass their
unit tests, and you can also test them in the GUI by clicking on the
node that you wish to rotate. As with remove(), these methods return
the rebuilt tree nodes.
Step 6: Evaluation
Create trees with 3, 7, and 15 nodes. First, create a balanced tree.
Next, erase the tree and create a degenerate tree that is completely
linear. Then, use rotations to transform each linear tree into a
balanced tree. Record in your evaluation document the number of
rotations you needed to perform to balance each tree. Discuss how you
identified the need for a rotation when examining each tree.
Grading
- To Complete this lab, complete Steps 1-6.